Simplify your model deployment process by integrating BentoML with ZenML. This powerful combination allows you to package models into production-ready Bentos and serve them locally or in the cloud with ease, streamlining the transition from development to production.
bentoctl or yatai .
zenml model-deployer register bentoml_deployer --flavor=bentoml
zenml stack update -d bentoml_deployer
You first need to define a BentoML Service in a service.py file and define the logic to serve your model there. It could look like the following:
@bentoml.service(
name=SERVICE_NAME,
)
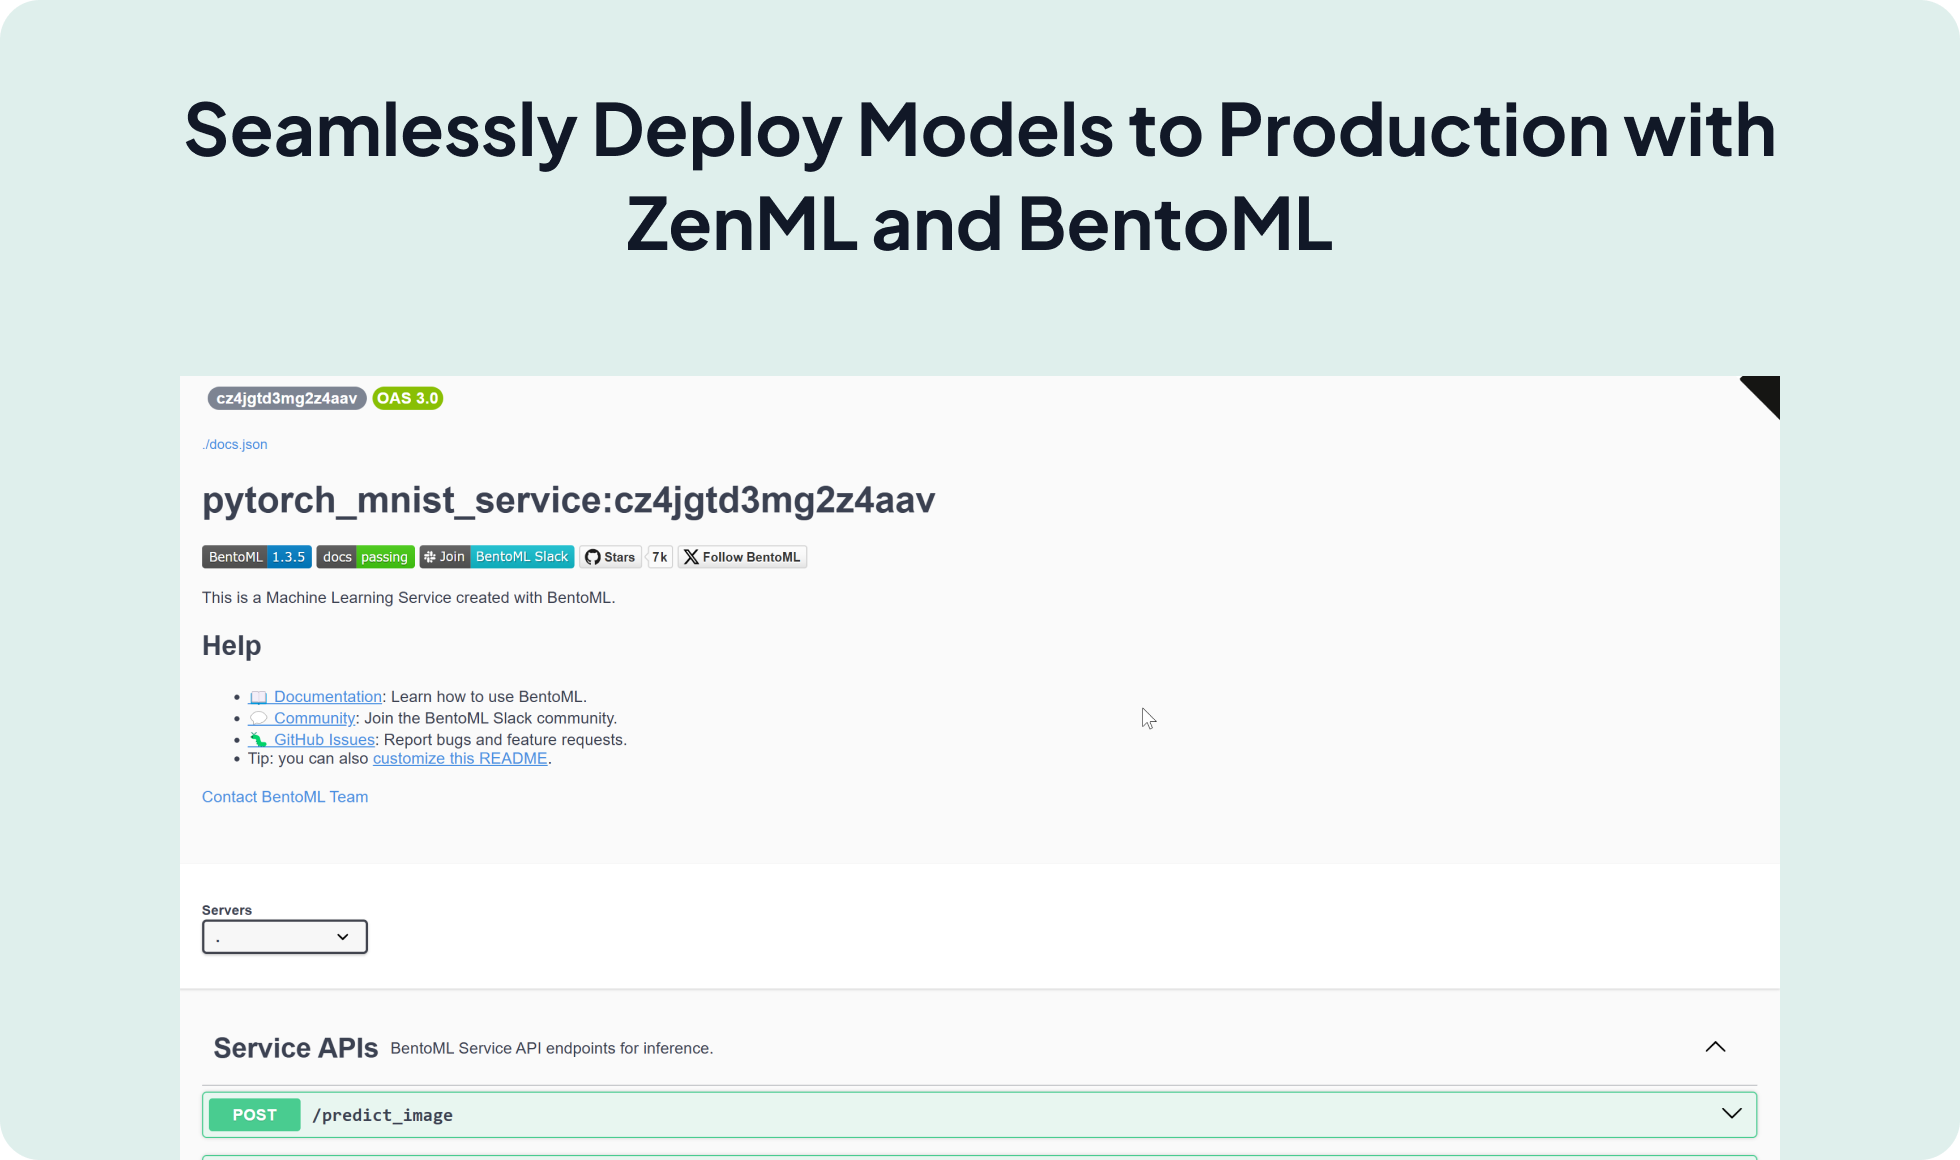
class MNISTService:
def __init__(self):
# load model
self.model = bentoml.pytorch.load_model(MODEL_NAME)
self.model.eval()
@bentoml.api()
async def predict_ndarray(
self,
inp: Annotated[np.ndarray, DType("float32"), Shape((28, 28))]
) -> np.ndarray:
inp = np.expand_dims(inp, (0, 1))
output_tensor = await self.model(torch.tensor(inp))
return to_numpy(output_tensor)You can then define your pipeline as follows:
from zenml import pipeline, step
from zenml.integrations.bentoml.steps import bento_builder_step
from zenml.integrations.bentoml.steps import bentoml_model_deployer_step


@pipeline
def bento_builder_pipeline():
    model = model_training_step()
    bento = bento_builder_step(
        model=model,
        model_name="pytorch_mnist",  # Name of the model
        model_type="pytorch",  # Type of the model (pytorch, tensorflow, sklearn, xgboost..)
        service="service.py:CLASS_NAME",  # Path to the service file within zenml repo
    )
    deployed_model = bentoml_model_deployer_step(
        bento=bento,
        model_name="pytorch_mnist",  # Name of the model
        port=3001,  # Port to be used by the http server
        deployment_type="container" # the type of deployment, either local or container
)Expand your ML pipelines with more than 50 ZenML Integrations